Getting started
Install your WP-Firewall free plan
Follow the five steps below to install the plugin and activate your account.
These screenshots are from the original installation guide, last updated on 22 July 2024. Labels in your current account may differ.
Step 1: Download WP-Firewall Plugin #
First, obtain the WP-Firewall plugin package through your account.
Step 2: Upload and Install Firewall Plugin #
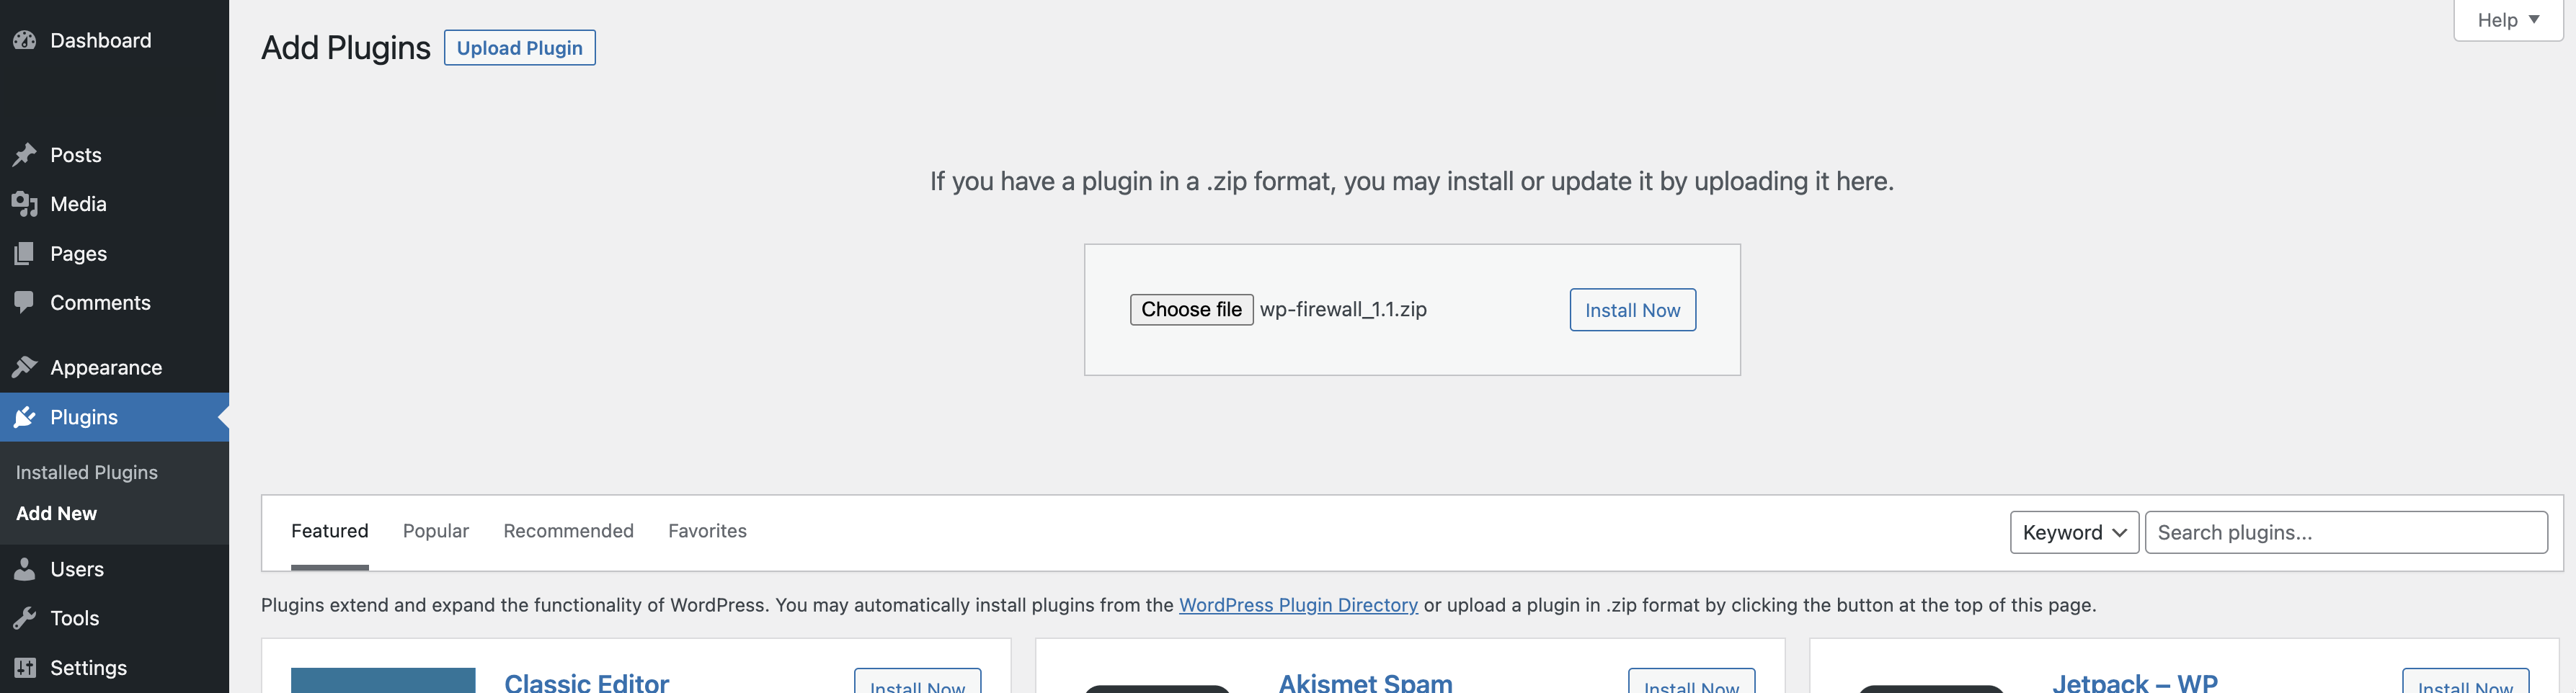
Second, Open your wordpress site admin portal, go to “Plugins” -> “Add New” .
Then, Upload the plugin and install it.
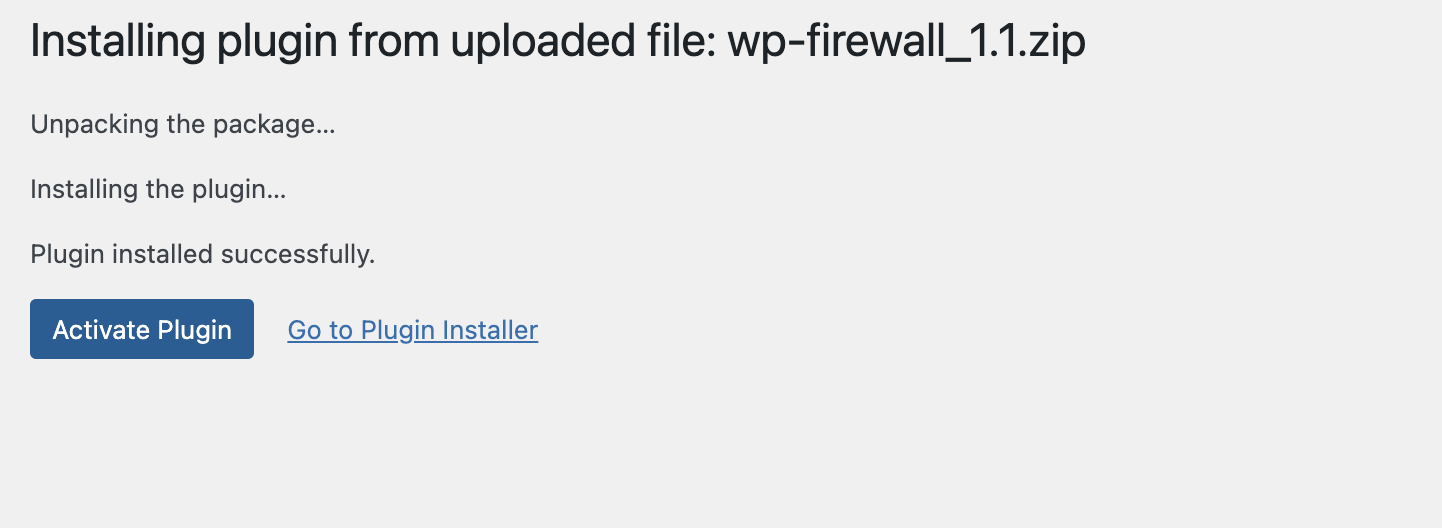
Step 3: Activate the firewall #
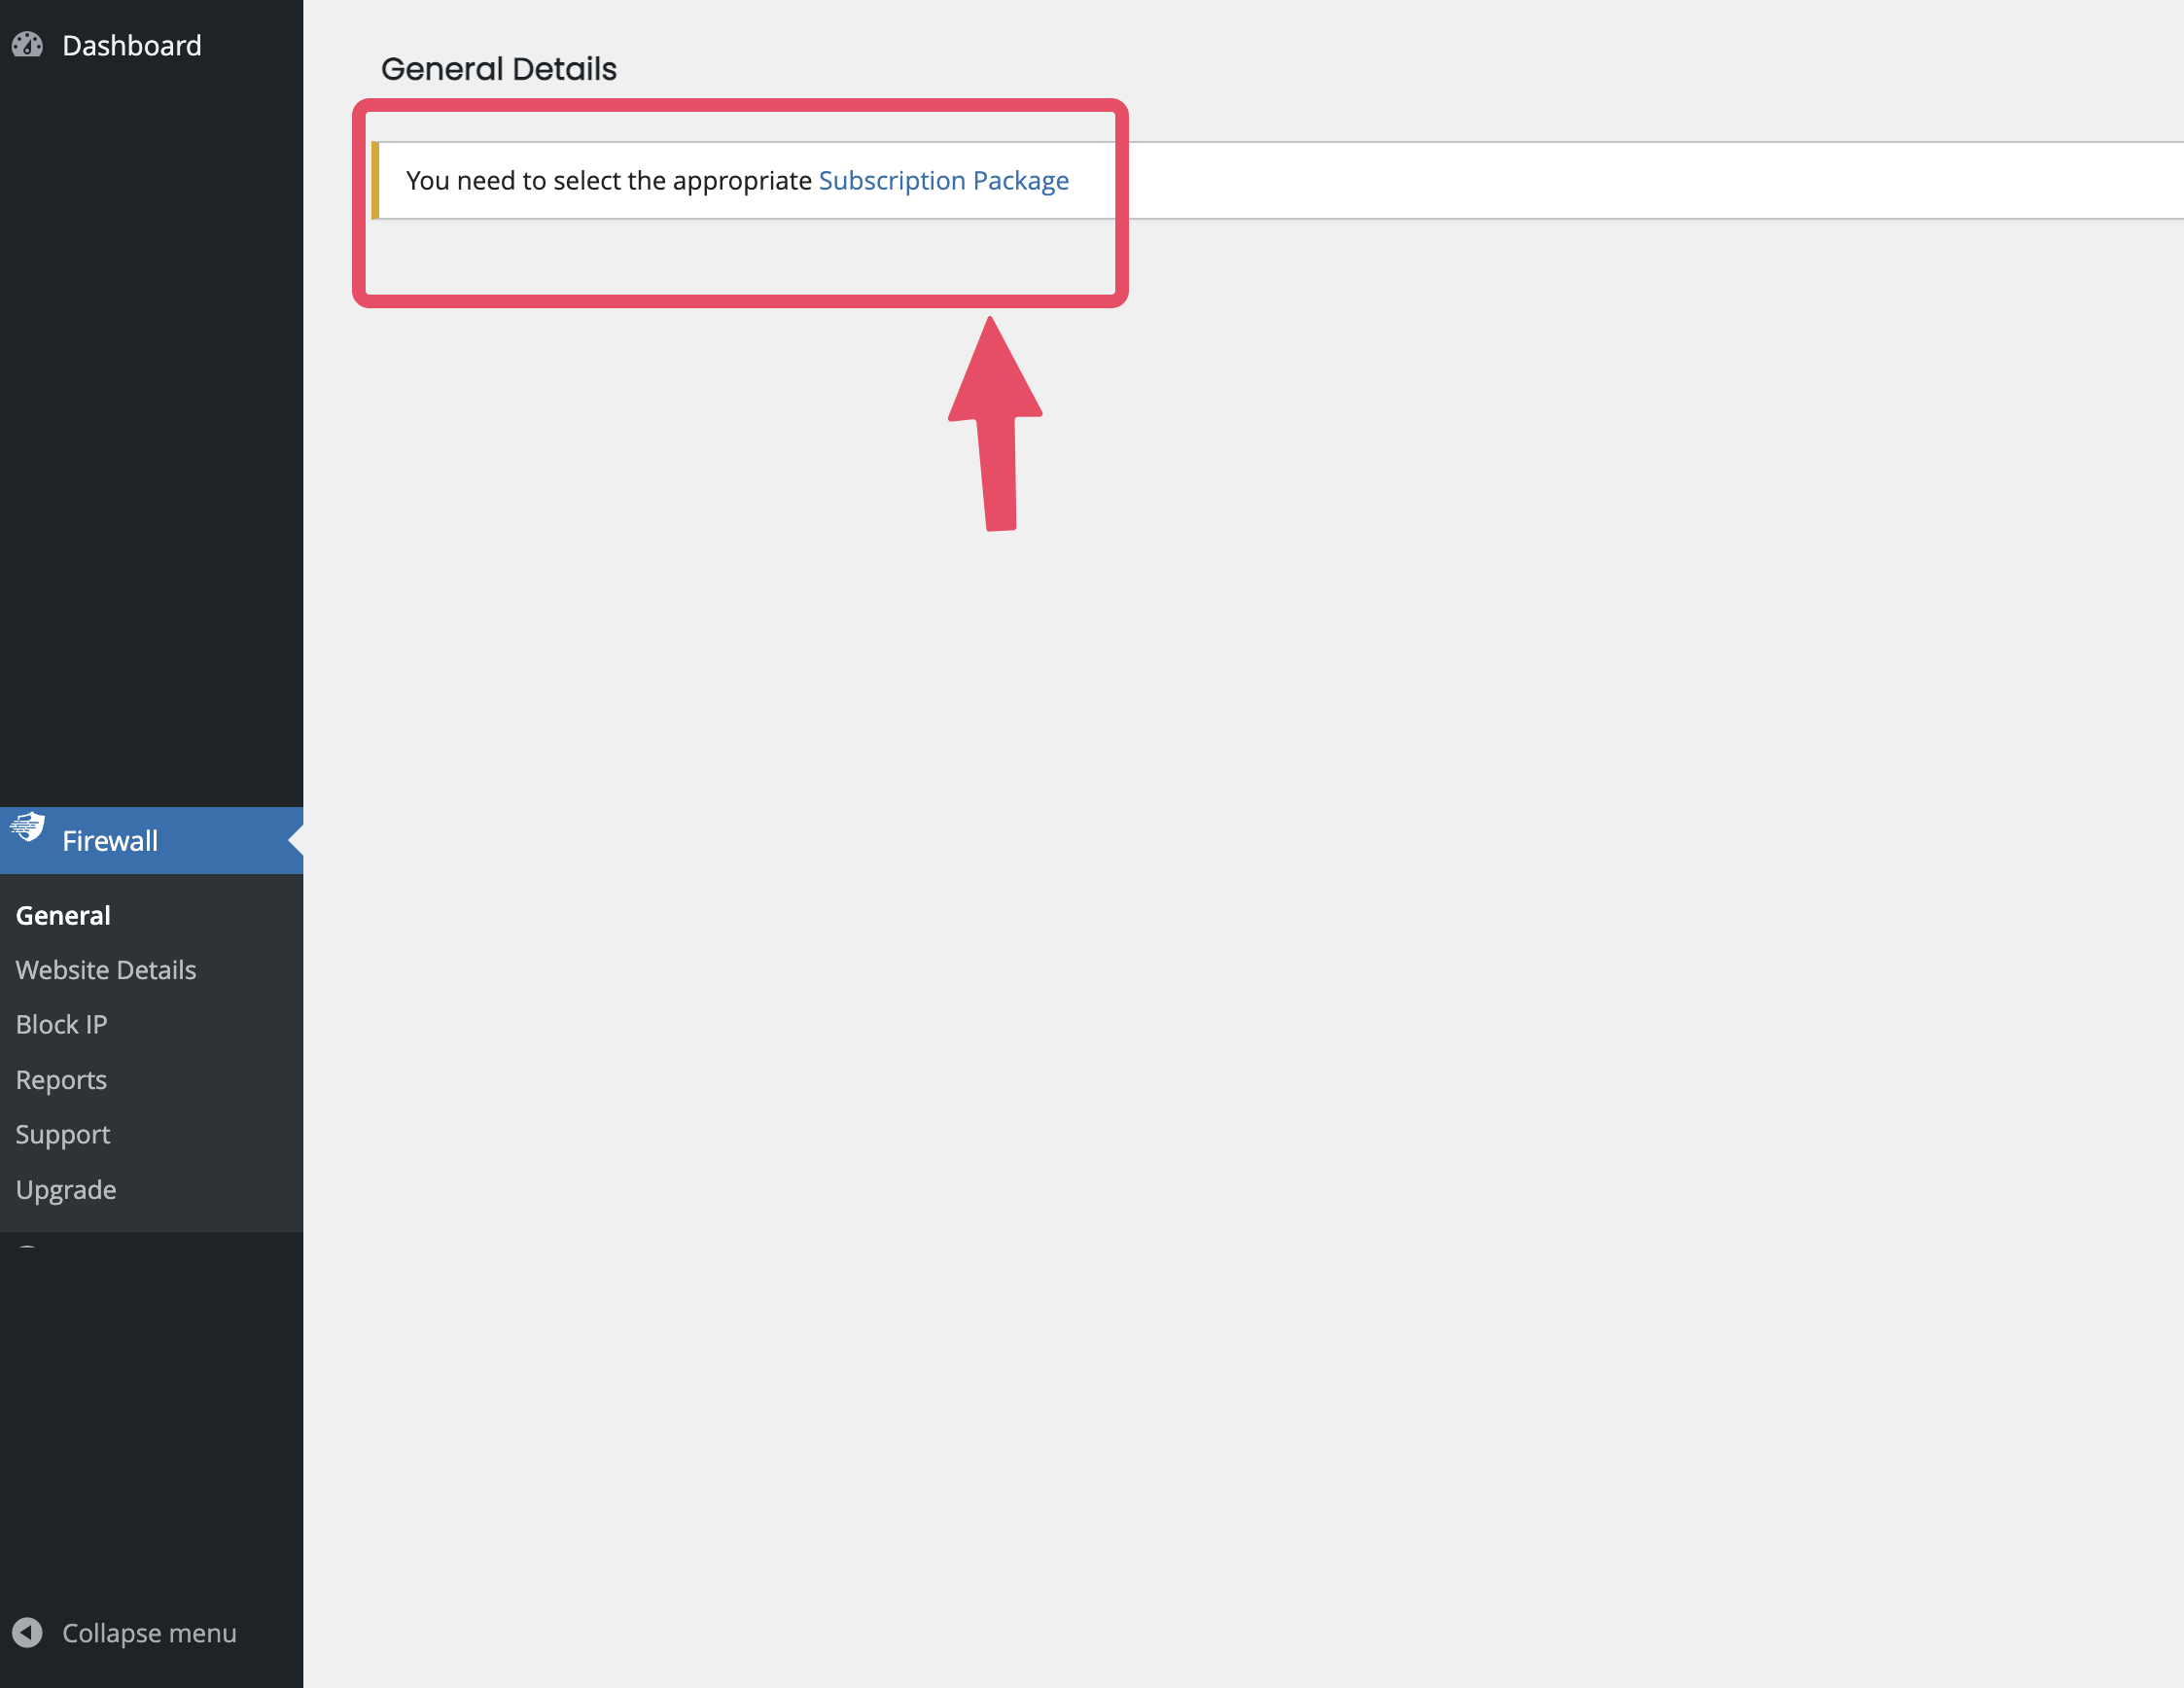
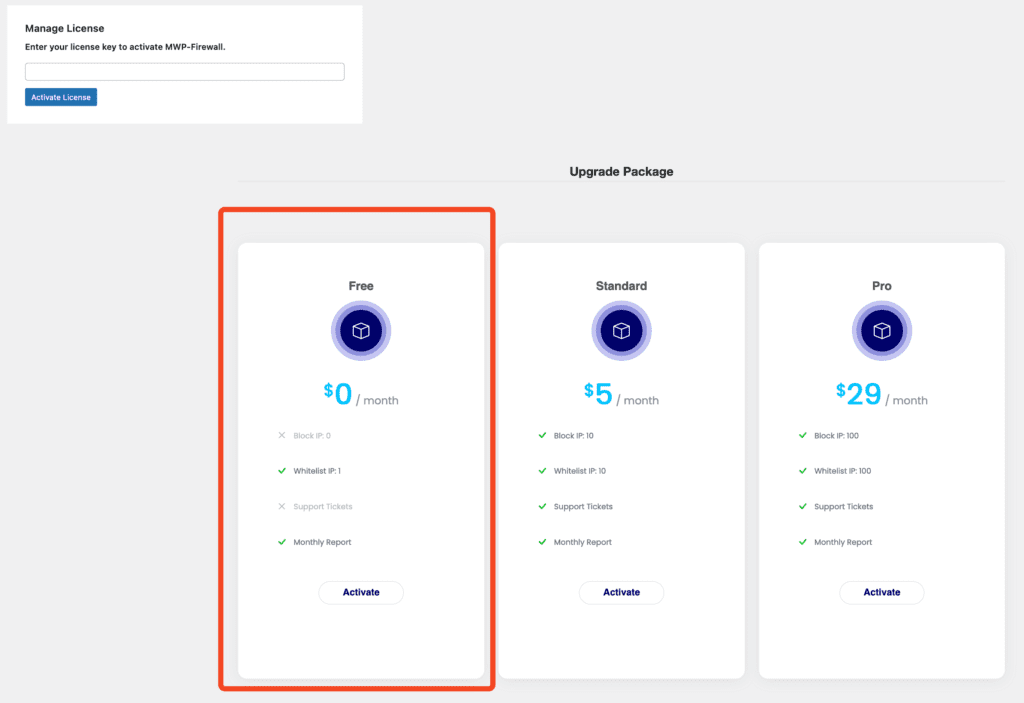
Step 4: Select suitable WP-Firewall free plan or subscription and then Sign up #
In menu, click “Firewall” -> “Upgrade” and select Free plan.
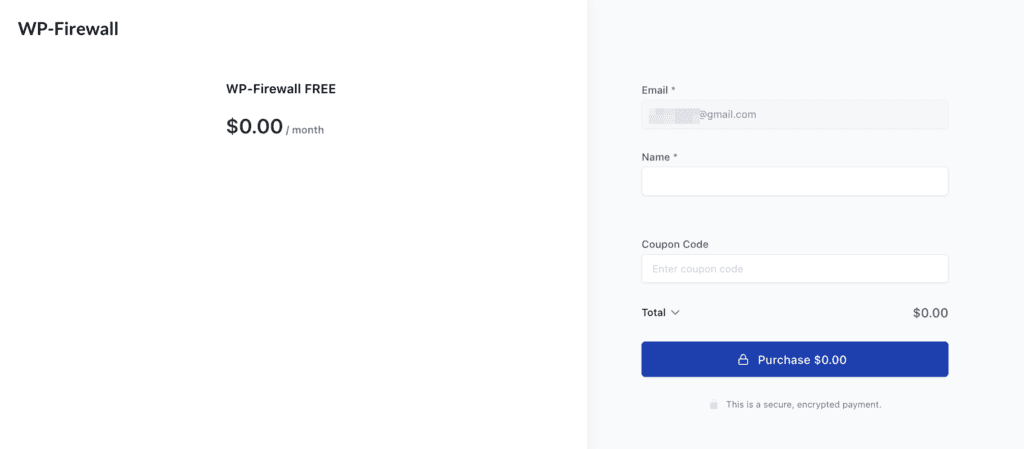
Step 5: Complete Sign up Form and Activate Free Plan #
Enter Your Name , email ,
and click Complete Order